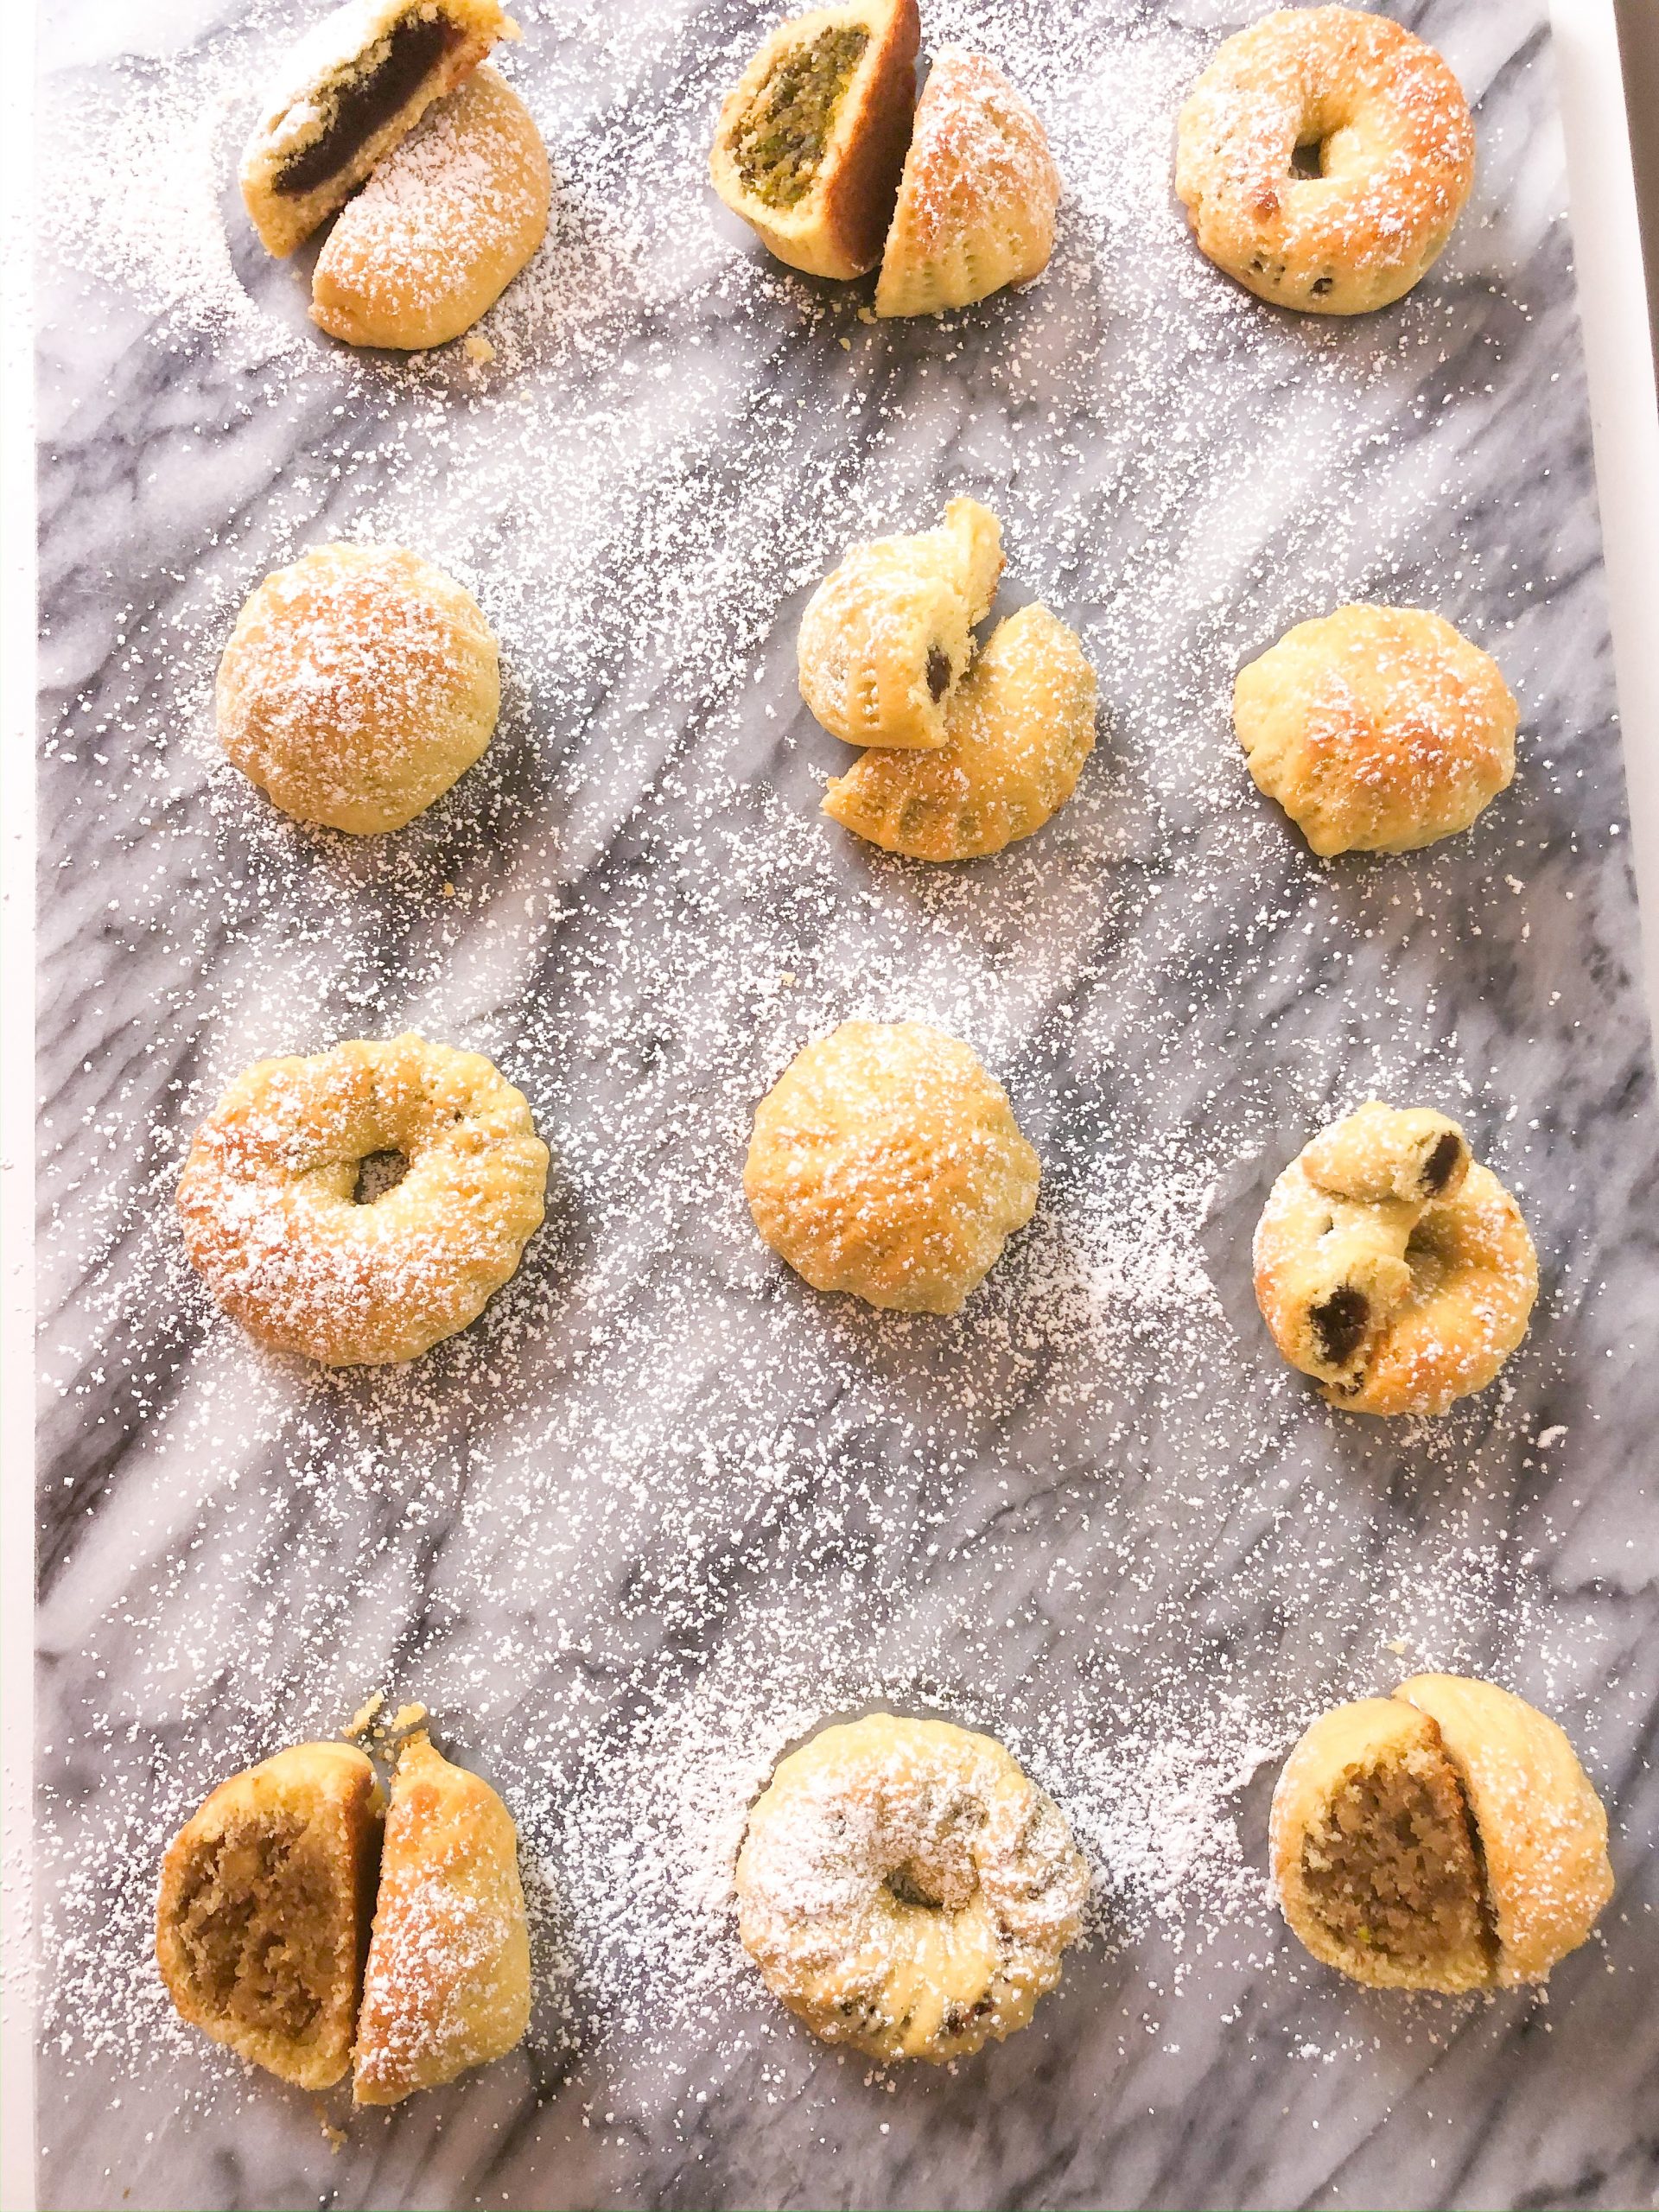
Ka’ek & Ma’amoul Cookies for Easter!
Delicate date or nut filled cookies with a religious significance for both Easter and Eid!
Equipment
- Equipment needed:
- Decorative tweezers (as shown in the video)
- Decorative cookie molds (as shown in the video) OR a fork
- A wooden cooking spoon
Ingredients
For the dough:
- 2 cups fine semolina MUST be fine semolina and not coarse
- 2 cups all purpose flour
- 1 ½ cups butter melted but not hot
- ½ teaspoon salt
- ½ cup powdered sugar
- 1 tablespoon granulated sugar
- 1 teaspoon mastic optional ** See note
- 1 ½ teaspoons ground mahlab
- 2 teaspoon yeast
- ½ cup lukewarm water
- 4 tablespoons 1/4 cup milk
For the date filling:
- 1 – 13oz package of baking dates
- ½ teaspoon cinnamon
- ¼ teaspoon nutmeg
- ¼ teaspoon salt
- 1 tablespoon butter samneh or a neutral oil (like vegetable or avocado oil)
For the nut filling:
- 1 cup ground nuts of choice I used pistachio and walnut fillings
- 3-4 teaspoons powdered sugar
- 2-3 teaspoons water
Instructions
- Start with the dough. Mix together the semolina, flour, powdered sugar, salt and melted butter. Combine everything very well so all the dry ingredients are saturated by the butter. Let this sit covered with plastic wrap for 12 hours or overnight. Use your hands once every few hours to fluff up the mixture and let it breathe. The dough will be hard when you touch it the first time, but break apart the chunks with your fingers and the palms of your hand (watch my YouTube video linked above for a visual).
- After 12 hours or so has passed, combine the lukewarm water with the yeast and granulated sugar, let it sit and bloom about 5 minutes. Add that into the dough along with the mahlab powder and mastic powder. Add in the milk 1 tablespoon at a time and knead the dough to combine. Be sure to mix from the bottom so no dry mix is left untouched. Once the dough is done kneading, there should be no dough left on your hands and the dough will be bouncy and have moisture. Let this sit covered for 45 min to 1 hour in a draft free place (typically an oven or microwave that is cool and not in use).
- Create the cookie fillings by mixing all ingredients together for the specific filling. Set aside until ready to form the cookies.
To form the date cookies:
- Option 1: Take about a heaping tablespoon of dough and roll it into a log about 2 inches long. Press your finger down the center of the log to create a dip in the dough. Take a smaller amount of the date mixture and make a log just slightly smaller than the dough. Place the dough in the middle where the dip is from your finger. Cover the date mixture with the dough by pushing down slightly on the date with your less dominant hand, using your dominant hand pinch both sides of the dough together to cover the date. Continue along until the entire date log is covered with the dough. Carefully pinch the ends so the date mixture is not exposed. Roll the dough log again so there are no harsh ends. Bring the two ends together to create a circle and then using the pincher tool, create a design around the entire cookie. This is said to resemble the crown of thorns Jesus wore as he went to get crucified.
- Option 2: You can also take a ball of dough the same size as the previous shape and a ball of the date mixture a bit smaller than the size of the dough. Flatten the dough ball into a circle, place the date ball inside and cover it completely with the dough. Place into a mold to create a design, then slam the edge of the mold on a flat surface so the cookie can come out and reveal the design.
To form the nut cookies:
- You can do option 2 or option 3: Take the same ball of dough stuffed with the nut mixture that you would have from option 2 and use the decorative tweezers to create a design around the entire cookie. This is said to resemble the sponge of vinegar Jesus was given while on the cross when he said he was thirsty.
- Preheat the oven to 400F. Bake the cookies for 15-20 minutes or until golden brown on top and edges. Enjoy & Sahtein!
Notes
**(You May need a couple extra tablespoons water or milk if using mastic. Add one extra tablespoon at a time of thats the case)